A good Monday morning crafters, a treat for you today as I am posting two cards that I have done very similar but also different!
Items Used:
- Basic Black card
- White card
- Tattered Lace Die - Peacock
- Fantasy film - Waterfall
- Spellbinders Nestabilities Imperial Gold - Gold Ivy
- Anna Griffin Embossing Folder & Boarder - Pirouette
- Creative Expressions Gilding Wax - Patina
- Creative Expressions Fancy Pearl Embellishments - Flat backed Pearl
- Do crafts Wide Satin Ribbon - Jet Black
- Pin Flare Silicon Glue
- Tim Holtz Distress Inks - Black Soot
- Justrite Large Fancy Sentiment Stamps
- Spellbinders Grand Calibar Die Cutting Machine
I folded an A4 sheet of Black card in half to make it 5" x 7" base card, onto this I matted a piece of White card.
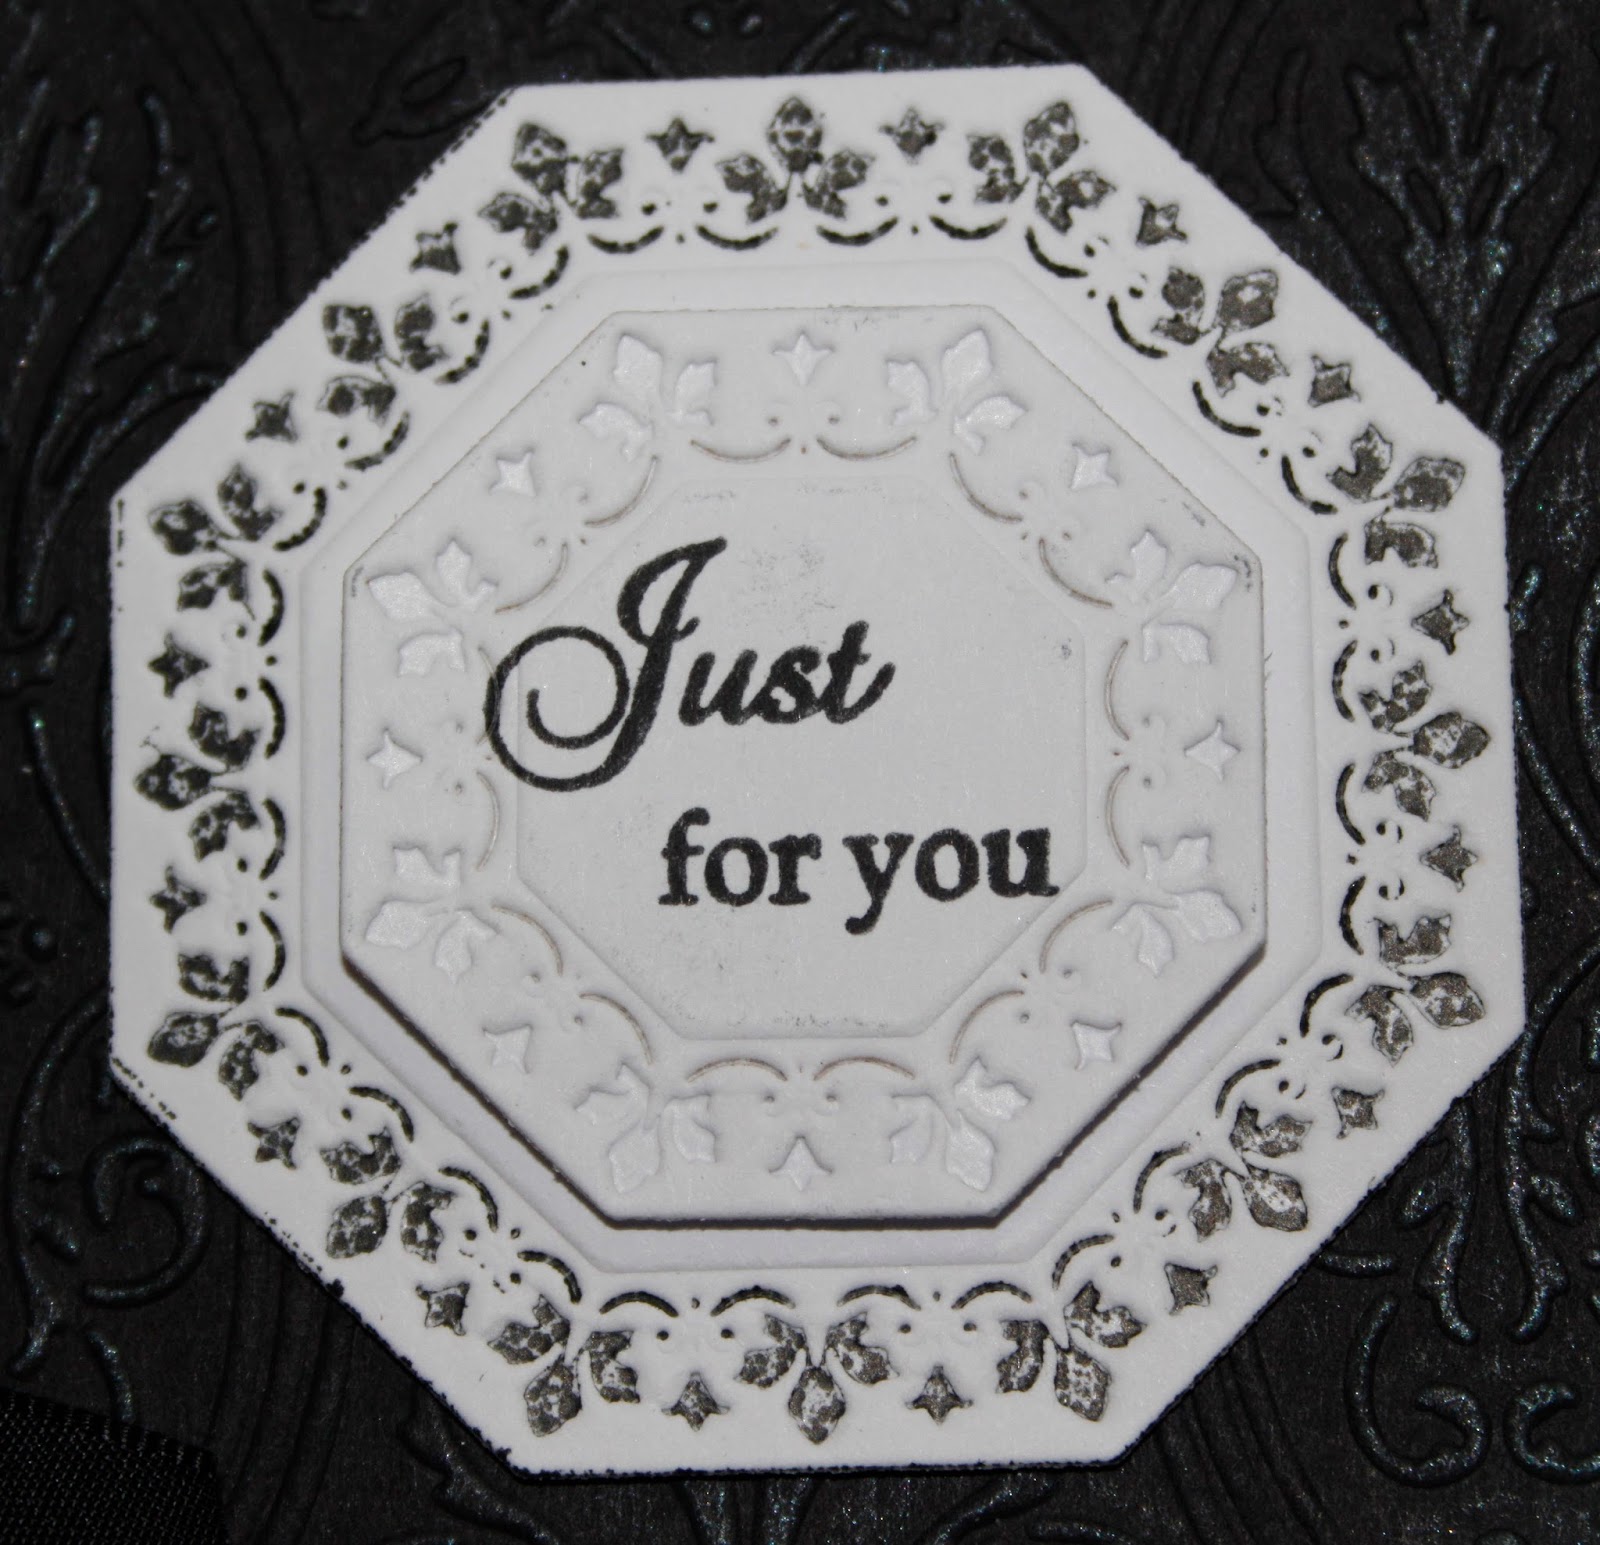
 Out of White card I cut Tattered Lace Die - Peacock and Spellbinders Nestabilities Imperial Gold - Gold Ivy die 3, using more White card I inked up my brayer with Tim Holtz Distress Inks - Black Soot and coated Spellbinders Nestabilities Imperial Gold - Gold Ivy die 4. I letter-pressed the ink into the card, I think these are absolutely beautiful dies, I don't use them enough especially for letter pressing but they always come out well. On the smaller Gold Ivy die cut I stamped my sentiment with Justrite Large Fancy Sentiment Stamps and Tim Holtz Distress Inks - Black Soot. I then matted this onto the larger Gold Ivy die cut.
I covered the back of the Peacock die cut with some Fantasy film - Waterfall using tiny bits of Pin Flare Silicon Glue and left it to dry. Once dry I cut around the edge of the die cut to remove any excess fantasy film.
I cut some Black card into two, the largest piece measured 5 1/4" x 5 1/2", the strip measured just over 1 1/2" x 5 1/2". I embossed the larger piece with Anna Griffin Embossing Folder - Pirouette and the smaller piece with the boarder that came with the folder, sorry it does not have a name to it they came as a pair with the one name! I then rubbed some Creative Expressions Gilding Wax - Patina over the embossed areas, this really looks good on Black card though it does not show up too well on my pictures-sorry! At least it ties in with the colour Waterfall Fantasy Film! I matted these onto my base card then placed my Peacock in position on the largest piece, placing my sentiment just above the end of the Peacocks tail. On the small strip I added a bow out of Do crafts Wide Satin Ribbon - Jet Black and added a Creative Expressions Fancy Pearl Embellishments - Flat backed Pearl
as an embellishment and there you have my finished card.
Now for my second card:
 Items Used
Basic White Card
Creative Expressions Foundation card -Teal
Tattered Lace Die - Peacock
Justrite Elegant fronds background Stamp
Papermania Embossing Powder - Seafoam White
Spellbinders Nestabilities Imperial Gold - Gold Labels Four
Spellbinders Dies - Venetian Accents
Tim Holtz Distress Ink - Peacock Feathers
Own Stash - Green Gems
Versamark Ink Pad
Creative Expressions Un-mounted Stamps - Classic Sentiments
 I folded an A4 White card in half for the base card, onto some Creative Expressions Foundation card -Teal I stamped the Justrite Elegant fronds background Stamp with my Versamark Ink Pad, I then heat embossed it with Papermania Embossing Powder - Seafoam White, I cut this down to size to fit onto my base card, out of the excess I used Spellbinders Nestabilities Imperial Gold - Gold Labels Four for the background to my sentiment. I then cut some more Teal card to fit inside the embossed Teal card and rounded the corners. With my Tattered Lace Die - Peacock I embossed onto the Teal card on the right side, I then cut out the Peacock again using White card and glued this into place over the embossed one so the raised embossed Peacock came through the die cut one, hope that makes sense? Using more White card I cut again using
Spellbinders Nestabilities Imperial Gold - Gold Labels Four but this time I letter-pressed it with
Tim Holtz Distress Ink - Peacock Feathers. I stamped my sentiment in Tim Holtz Distress Ink - Peacock Feathers using the Creative Expressions Un-mounted Stamps - Classic Sentiments and inked through the die with the same Distress ink.
 I matted the two Labels Four die cuts together and attached them to the Teal card next to the Peacock.
I cut two die cuts of Spellbinders Dies - Venetian Accent, the little tag using White card, I snipped off both ends of these die cuts and these then formed the four corners of my card.
Out of my own stash I found some little Green Gems that I thought matched the Teal card so I added these onto the eyes of the Peacock Feathers, these just matched perfectly and really suited the Peacock die and card.
I hope you like my two cards today, they are both A5 size cards, I am learning now to make cards that actually fit in envelopes that are ready available, so many times I have finished a card and found it too big to fit in an envelope other than an A3 one!
Thanks for looking, Jacquie xxx


 I chose an image from Crafter's Companion Crisalis Classics Christine Haworth, printed it off and cut it out using Spellbinders Dies - Blossom Three, I then embossed a piece of Create and Craft Pearlescent 12" x 12" Card- Pink with the same die and cut around the edge, as I had used the larger die, doing it this way means I have that little edge of pink showing under the image giving it a boarder. I matted and layered this onto some more Blush card that had been die cut using the smaller die from Spellbinders Nestabilities Grand decorative Circles One.